Sensor Troubleshooting
DHT11 or DHT22 showing NaN: Arduino and ESP32 fix guide
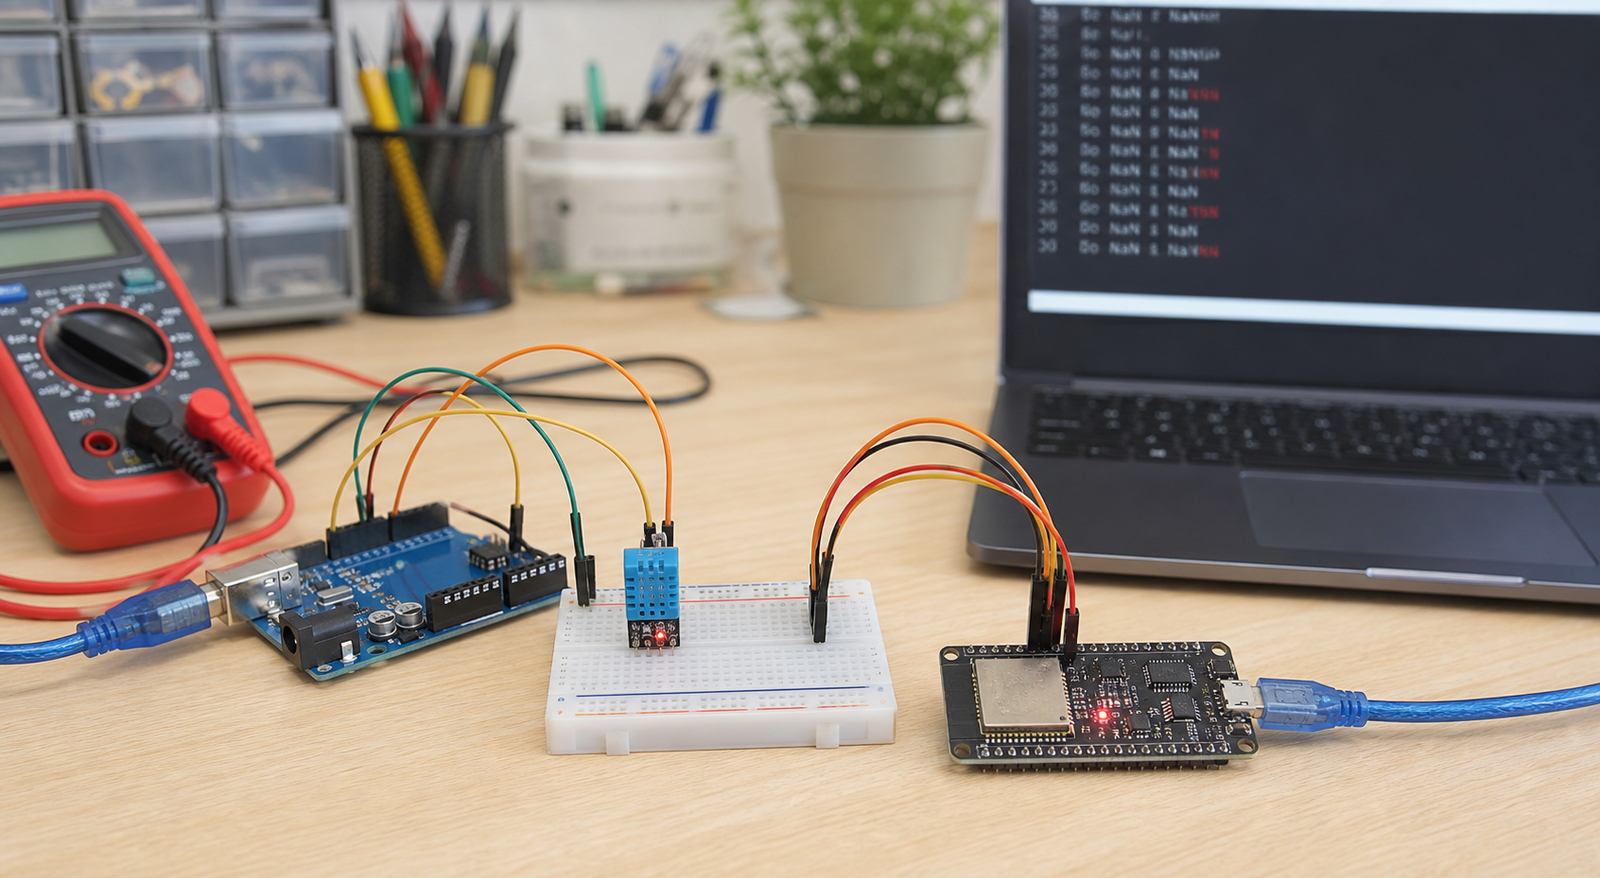
`nan` means "not a number." In DHT projects, it usually means the microcontroller asked the sensor for temperature or humidity, but the sensor did not return a valid reading.
Direct answer
DHT11 or DHT22 sensors usually show NaN because VCC/GND/DATA wiring is wrong, the DATA pin in code does not match the wiring, the code defines the wrong sensor type, a bare sensor is missing a pullup resistor, readings are requested too quickly, or the sensor is damaged.
Symptoms and likely causes
| Symptom | Most likely cause | First fix to try |
|---|---|---|
| Temperature and humidity both show NaN | Wrong wiring, wrong DATA pin, missing pullup, or sensor not powered | Check VCC, GND, DATA, and code pin number |
| "Failed to read from DHT sensor" | Sensor type mismatch, timing issue, wiring error, or damaged sensor | Confirm DHT11 vs DHT22 in code and wait 2 seconds between reads |
| Works sometimes, then shows NaN | Loose jumper wires, weak breadboard contact, reading too fast, or unstable power | Use shorter wires, stable power, and slower read interval |
| Works on Arduino but not ESP32 | Wrong GPIO, boot pin issue, voltage or library configuration problem | Try GPIO 4, 16, 17, 18, 19, 21, 22, 23, 25, 26, or 27 |
| Humidity reads 0 or unrealistic value | Damaged sensor, condensation, cheap clone, or wrong sensor type | Test another sensor with minimal code |
Correct DHT11 and DHT22 wiring
Many beginner errors come from assuming all DHT boards have the same pin order. Some modules use VCC-DATA-GND. Bare four-pin sensors have a different pinout. Always read the module silkscreen or datasheet before wiring.

Do not wire by memory. DHT11 blue modules, DHT22 white sensors, and AM2302 modules may expose pins differently depending on the supplier.
Minimal Arduino and ESP32 DHT test code
Install a common DHT sensor library and its dependency, then run a tiny test before adding any other project code. Change `DHTPIN` and `DHTTYPE` to match your wiring and sensor.
#include <DHT.h>

#define DHTPIN 4
#define DHTTYPE DHT22

DHT dht(DHTPIN, DHTTYPE);

void setup() {
  Serial.begin(115200);
  dht.begin();
}

void loop() {
  delay(2000);

  float humidity = dht.readHumidity();
  float temperature = dht.readTemperature();

  if (isnan(humidity) || isnan(temperature)) {
    Serial.println("Failed to read from DHT sensor");
    return;
  }

  Serial.print("Humidity: ");
  Serial.print(humidity);
  Serial.print("%  Temperature: ");
  Serial.print(temperature);
  Serial.println(" C");
}
DHT11 is cheaper and less accurate, but fine for basic demos.
DHT22 is also sold as AM2302 in many listings.
If DATA is on GPIO 4, the code must use `DHTPIN 4`.
Reading too fast can cause failures
DHT sensors are slow. If your loop reads the sensor repeatedly without enough delay, you may get NaN or stale values. Use at least a 2 second delay for a first test, especially with DHT22.
- Do not read DHT inside a very fast loop.
- Keep WiFi, display, MQTT, and relay logic out of the first sensor test.
- If using a web server, cache the latest reading instead of reading the sensor on every page request.
- If using MQTT or cloud logging, read the sensor on a timer and publish only after a valid value.
ESP32-specific DHT notes
On ESP32, avoid choosing pins that interfere with boot mode or flash behavior until the circuit is proven. For a first test, use a simple GPIO such as 4, 16, 17, 18, 19, 21, 22, 23, 25, 26, or 27 depending on your board.
- Use 3.3V for ESP32 logic-friendly tests unless your module clearly needs 5V and safely supports the DATA level.
- Keep sensor wires short on a breadboard.
- Do not power relays, motors, or high-current loads from the same weak USB source during sensor testing.
- If the sensor works alone but fails with WiFi enabled, check power stability and timing.
When the sensor may be damaged
DHT sensors are inexpensive and can fail after wrong wiring, overheating, condensation, bad storage, or poor-quality manufacturing. If wiring, code, timing, and pullup are correct, test a second sensor before spending hours chasing a dead part.
FAQ
Why does my DHT11 or DHT22 show NaN?
NaN usually means the microcontroller failed to read valid data from the sensor. Common causes are wrong wiring, wrong DATA pin, wrong DHT sensor type in code, missing pullup resistor, reading too fast, weak power, or a damaged sensor.
Does DHT11 need a pullup resistor?
A bare DHT11 or DHT22 sensor usually needs a pullup resistor from DATA to VCC, often 4.7k to 10k. Many three-pin breakout modules already include this resistor.
Can DHT11 and DHT22 use the same code?
They use similar library code, but you must define the correct sensor type. If the code says DHT11 while the hardware is DHT22, readings may fail or behave incorrectly.
Why does DHT work on Arduino but not ESP32?
The most likely causes are wrong GPIO selection, code pin mismatch, wiring differences, voltage assumptions, or timing issues when WiFi and other ESP32 code are added.
Still getting NaN after the minimal test?
Get the free Electronics Project Rescue Pack. It includes sensor, wiring, power, module, and breadboard-to-PCB checklists for Arduino and ESP32 projects.
Get the free rescue pack